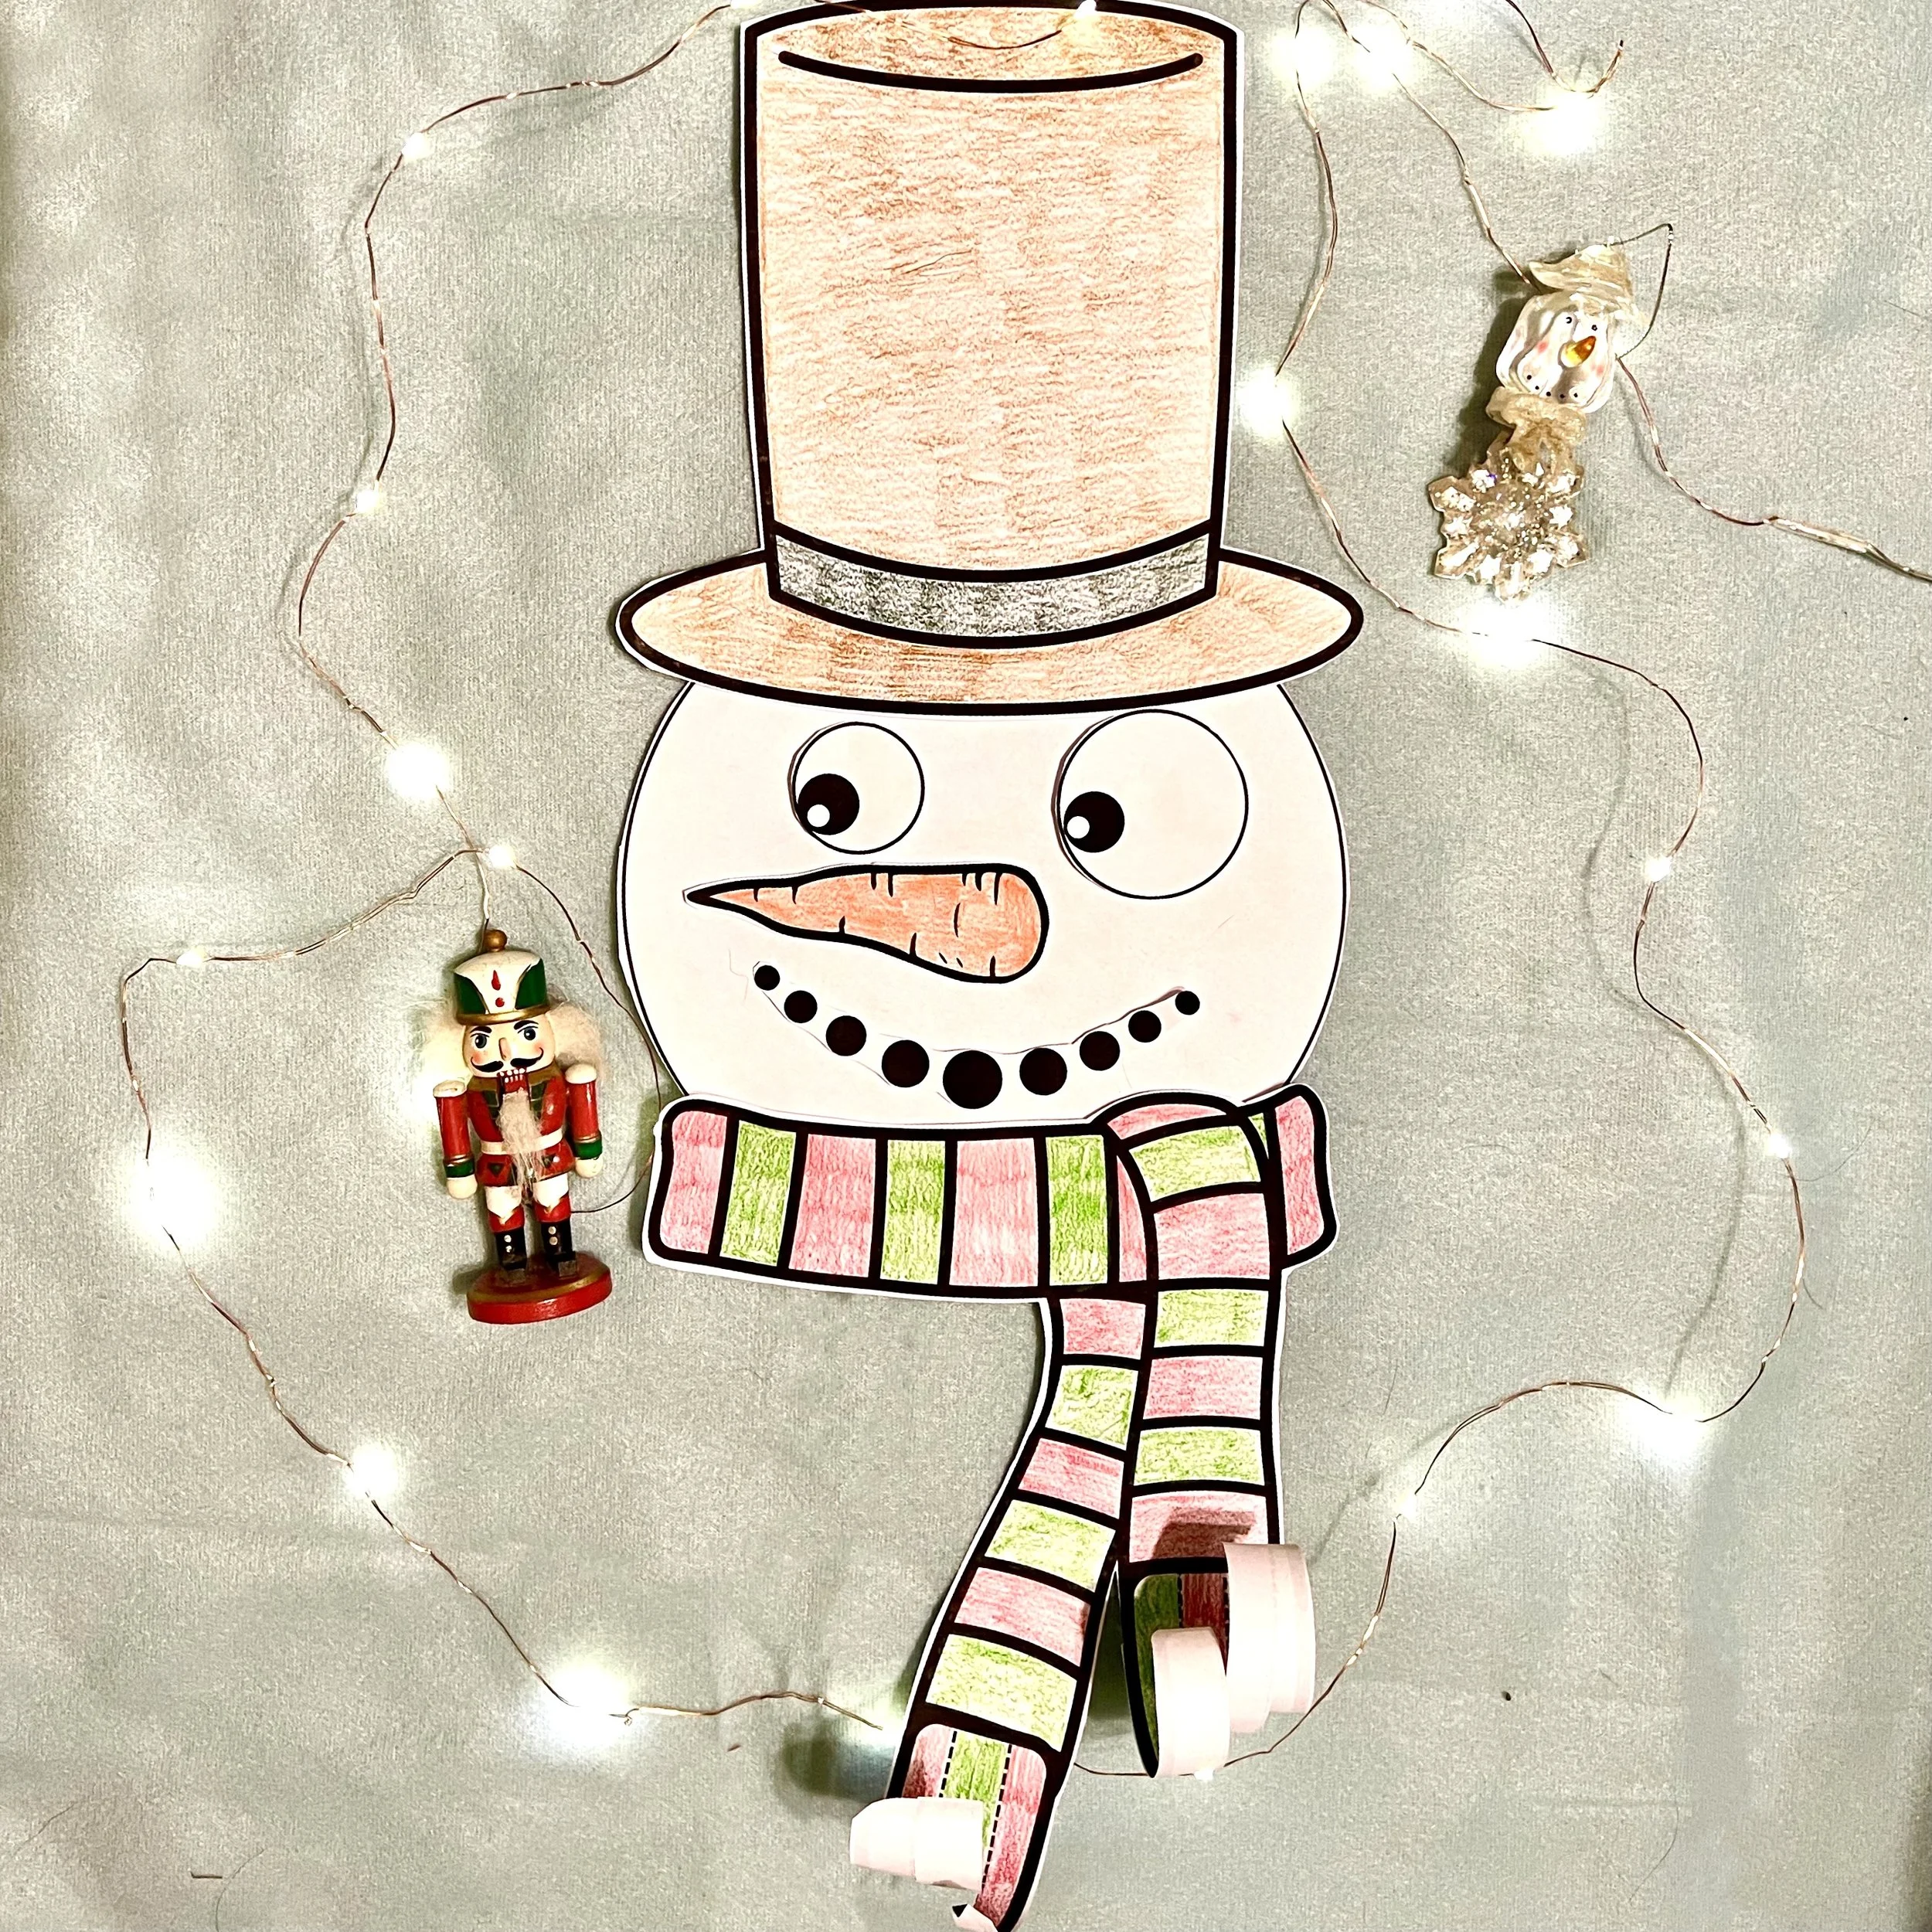
Snowman Craft
What better way to prep for the holidays than by sitting down and doing a craft together as a family? This craft is not only adorable, it also targets some key fine motor skills! Enjoy this fun winter or Christmas craft with your family this weekend.
This craft was inspired by the Santa Craft Template by Teacher’s Breathing Space. Go check them out for the Santa craft and other great crafts to do with your kids or use in therapy!
Benefits
This is an activity that involves coloring, cutting, and pasting. All of these may seem simple, but they are extremely beneficial for your child! Here is a breakdown of the benefits of each action:
Coloring:
-important for the development of hand strength
-helps develop grasp
-coloring in circular motions helps to improve intrinsic muscle use VS whole-hand coloring
-Use bold lines or wikki sticks to help with boundary awareness
Cutting:
-Print images on cardstock to help improve paper stability
-works on bilateral hand use
-Make sure your child is cutting in the correct direction for their handedness
-LEFT hand starts on the left side and cuts in a clockwise direction
-RIGHT hand starts on the right side and cuts in a counterclockwise direction
Glue:
-glue sticks are good for providing proprioception when pushing through the stick to apply glue; the colored glue sticks are nice to help kids see where the glue is going and how much they have applied
-Don’t be afraid to use regular glue, as this helps a child to improve hand strength and fine motor control, learning to squeeze and guide their hand along at the same time.
-You can place small dots where you want the child to place glue to help them not overuse it
-Providing a completed craft for child to imitate will help w/ independence when assembling the pieces, allowing them to work on visual perceptual skills, sequencing, and direction following
Rolling:
-Using a pencil to roll paper to curl it works on precision fine motor skills – using thumb and index fingers to pinch the paper, holding and rolling the pencils at the same time (bilateral skills)
Writing:
-Have your child practice writing their name on the back or a short sentence about the task
-Provide lines for boundary awareness and sizing
Print Out
Please click here for the snowman craft pdf
You can also print the image on cardstock to help improve paper stability.
Directions
Print out the snowman craft pdf
Have your child color the carrot, scarf, and hat.
Cut out all the pieces. Don’t worry about cutting out all of the individual buttons of the mouth; cut around all of them together. If you have a younger child, feel free to precut all the pieces for them.
Glue everything together. First, glue the hat and scarf on to make enough room for the face.
Cut along the dotted lines on the scarf. Roll each piece around a crayon or pencil to curve the paper.
Admire the masterpiece!
Contributions
Thank you Bambi, COTA/L for helping with this craft and explaining the benefits!


